—


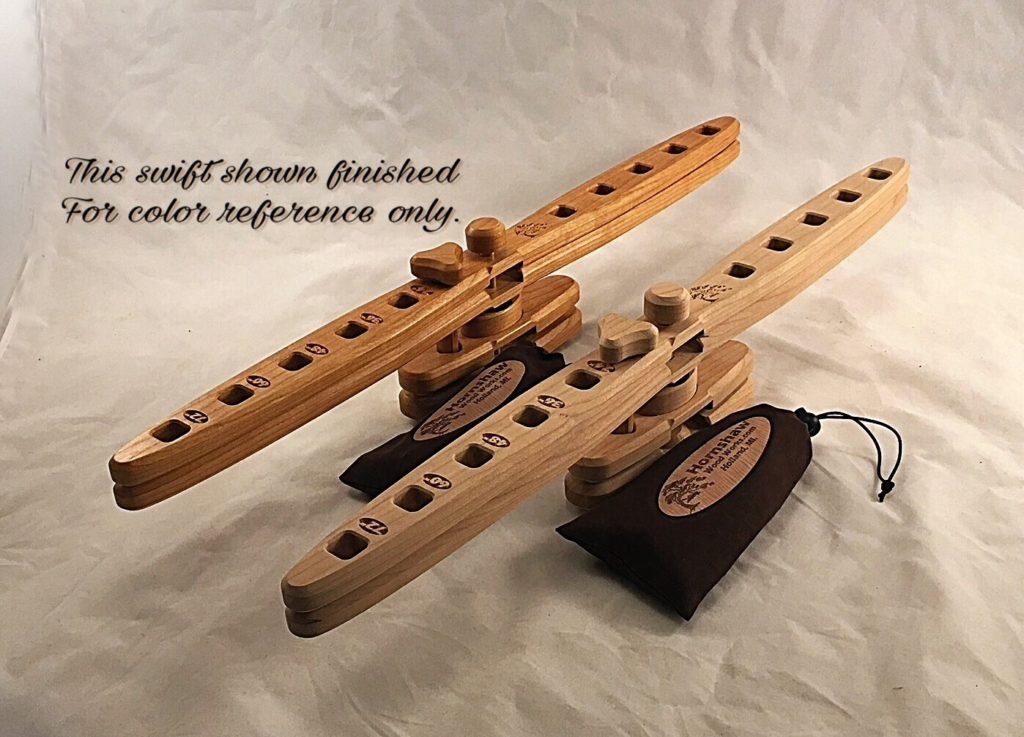
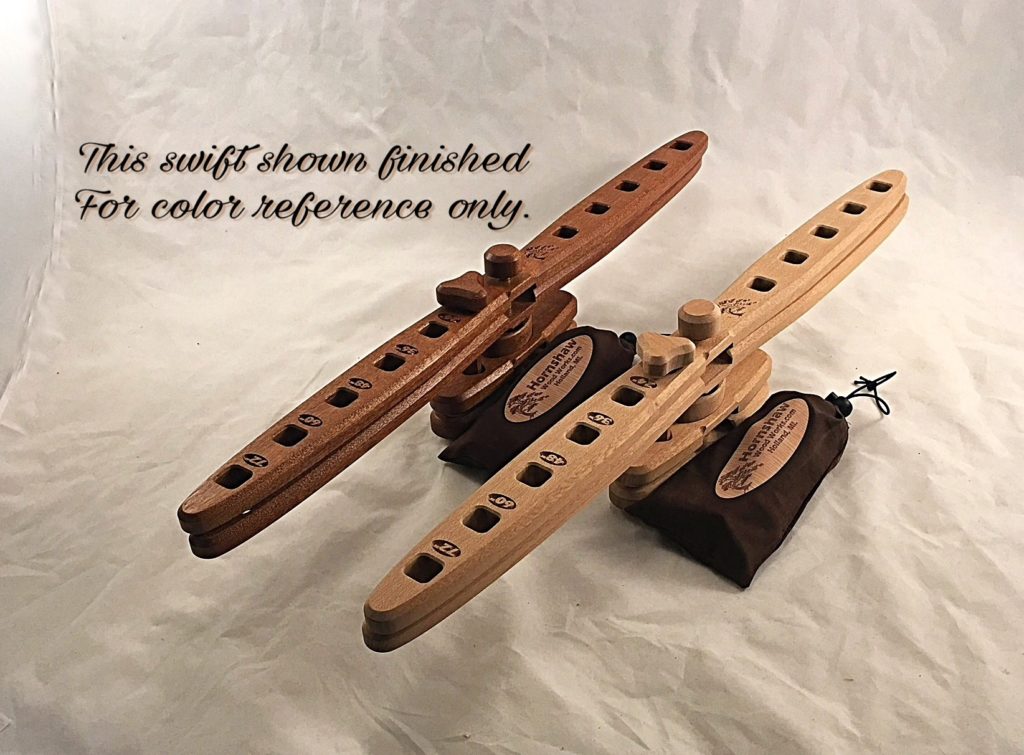
I just listed my new DIY Swifts on my Etsy store. I offer them in Cherry and Sapele. Currently I have one of each, but I will be adding more soon!

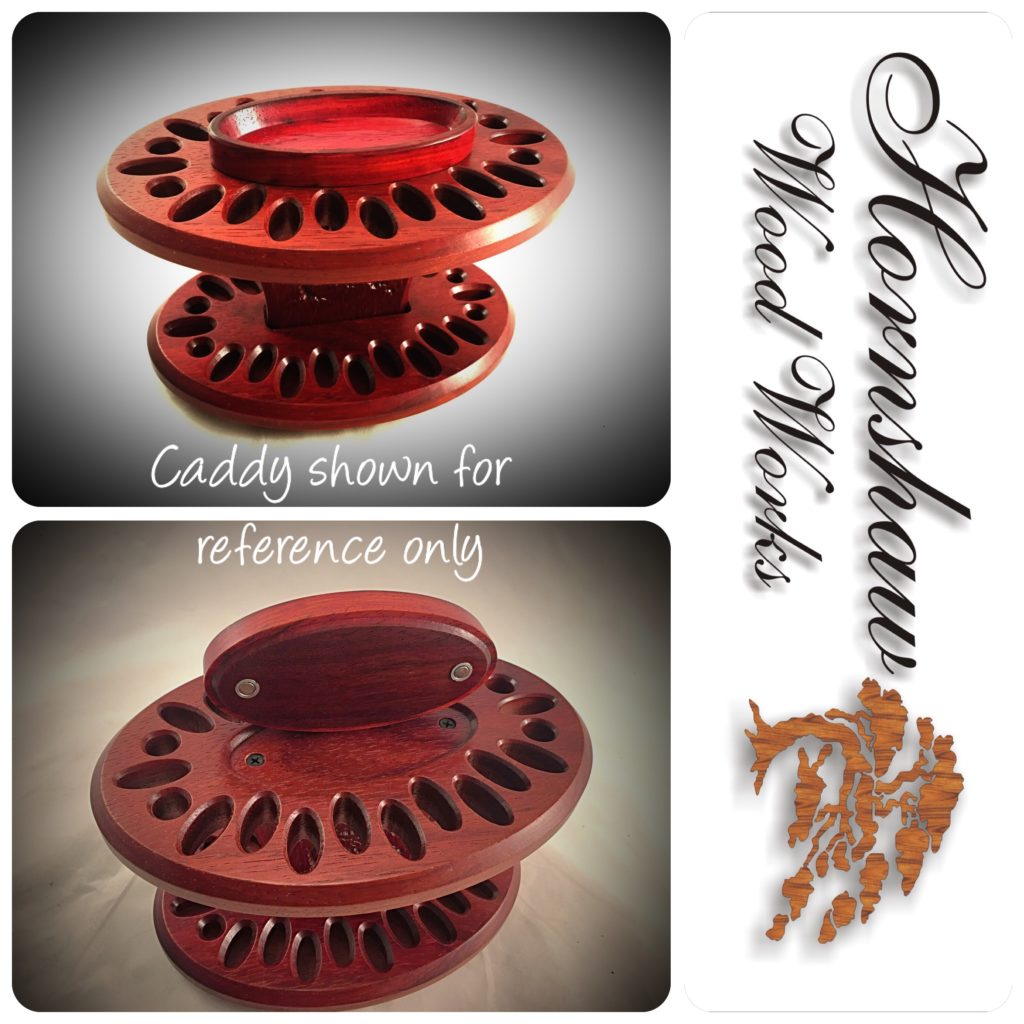
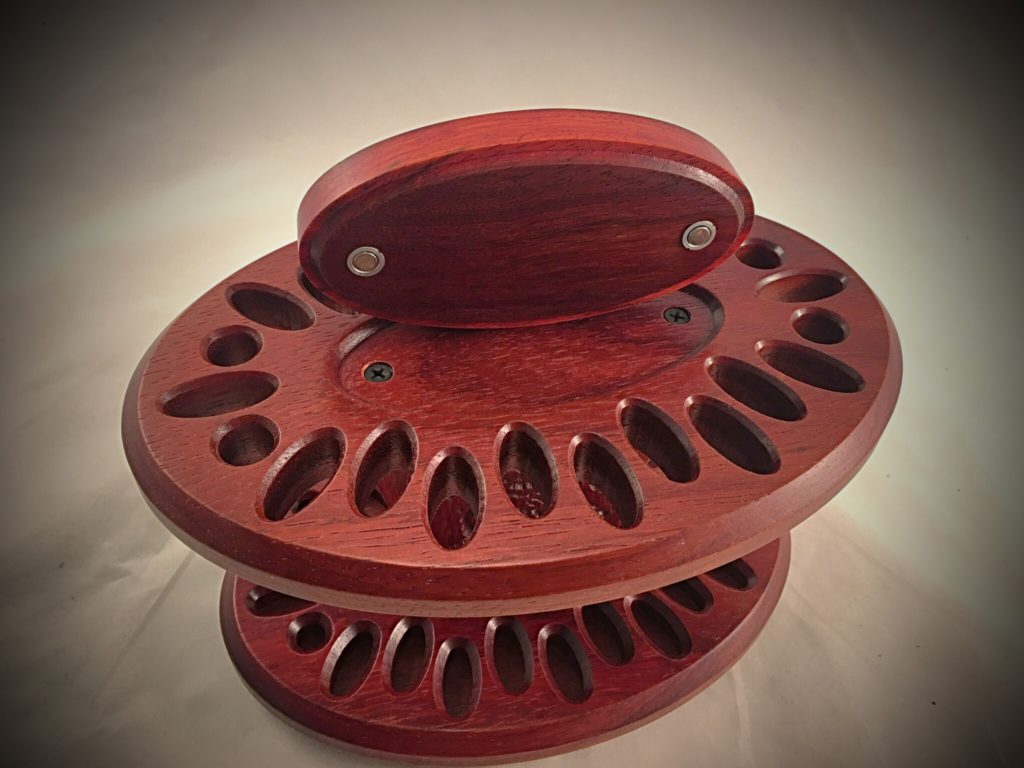
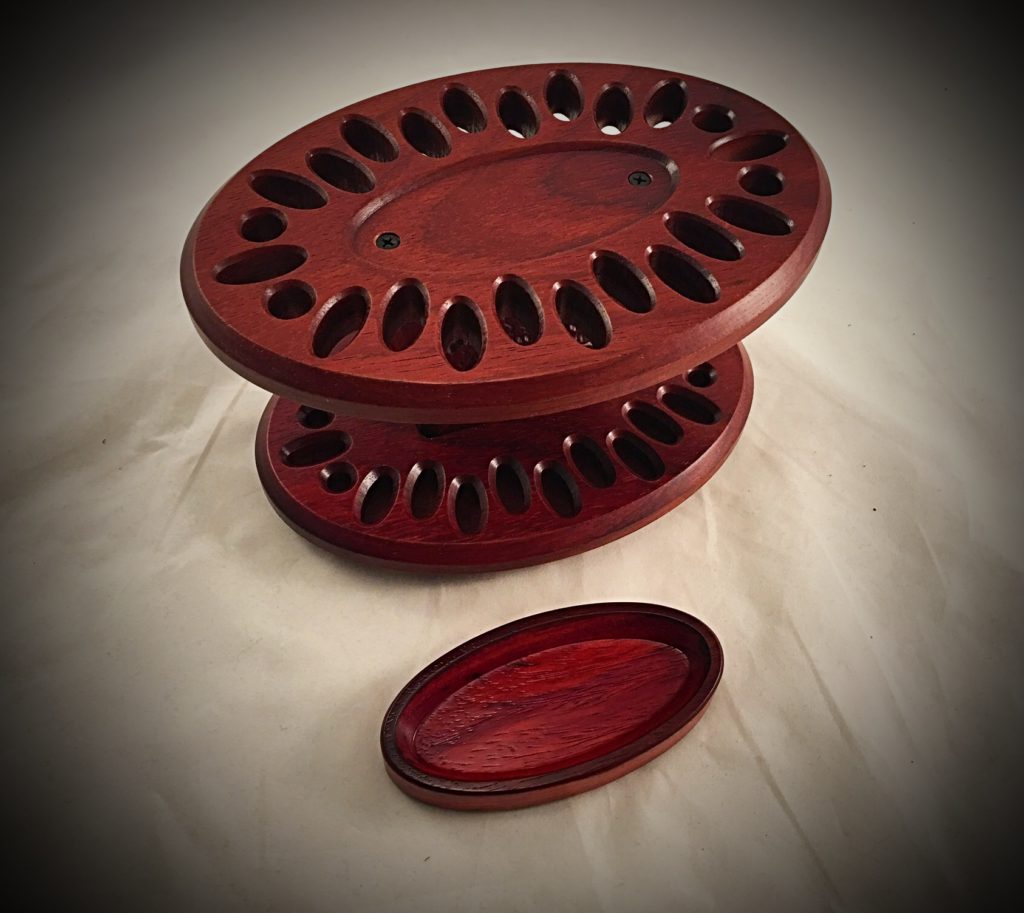
Recently I had a cu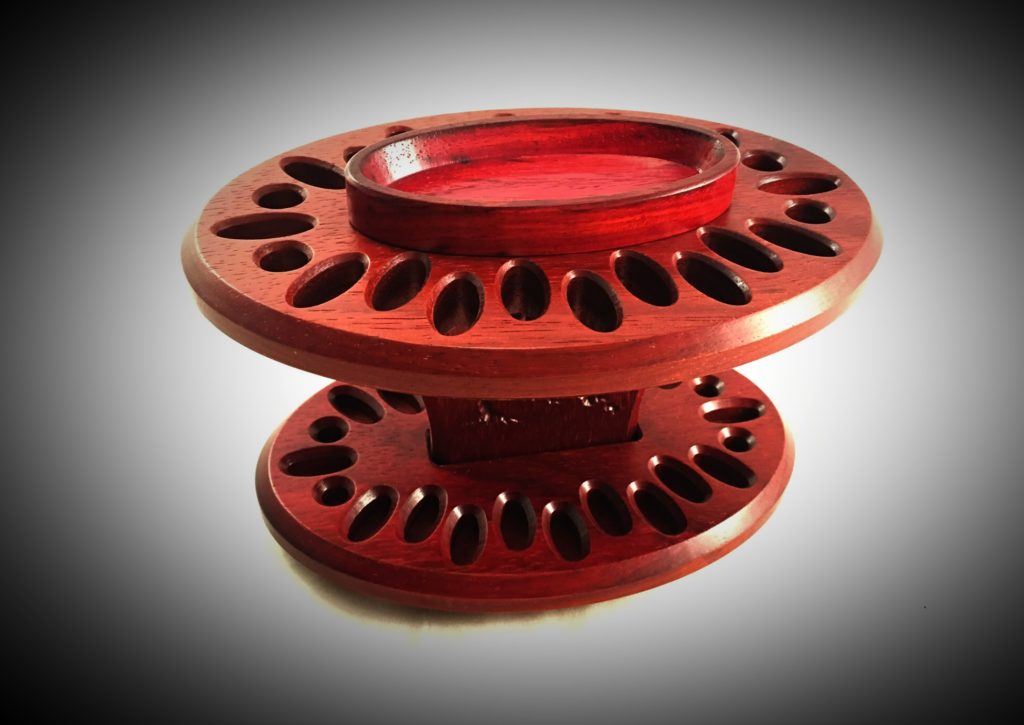 stomer request that I create a deeper dish on top of the Caddy’s. I have also had some feedback that people do not like the look of the screws on top of the Caddy.
For several reasons I really can’t redesign the Caddy for a deeper dish and I haven’t come up with a good idea to hide the screws…until now!
I have designed a new “optional” tray that I will sell for around $11.95 (Caddy is sold separately) in the next month or so on my Etsy store. It will sit in the existing dish on top of the Caddy and will be held in with two rare earth magnets.
The items in the tray will obviously be affected by the magnetic field, but I am thinking if the stitch markers hold in place a little that shouldn’t be a bad thing.
If you have any comments or suggestions please use my contact form!

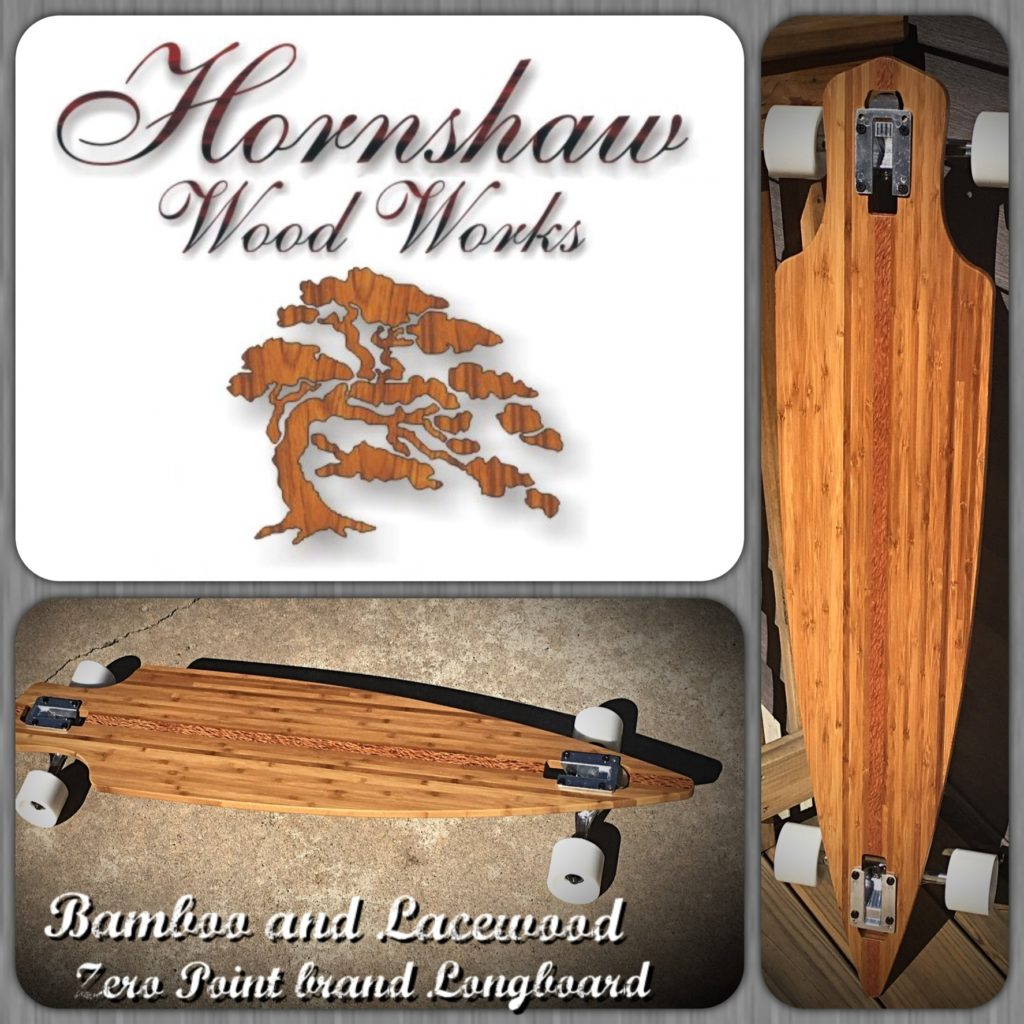
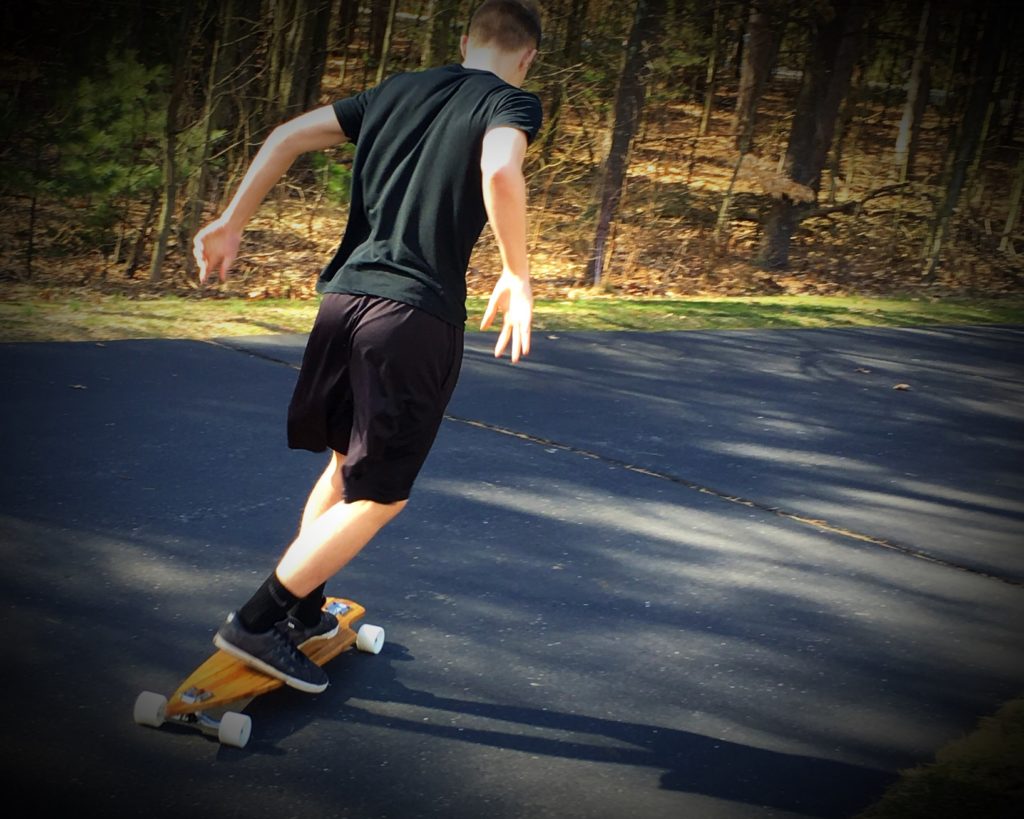
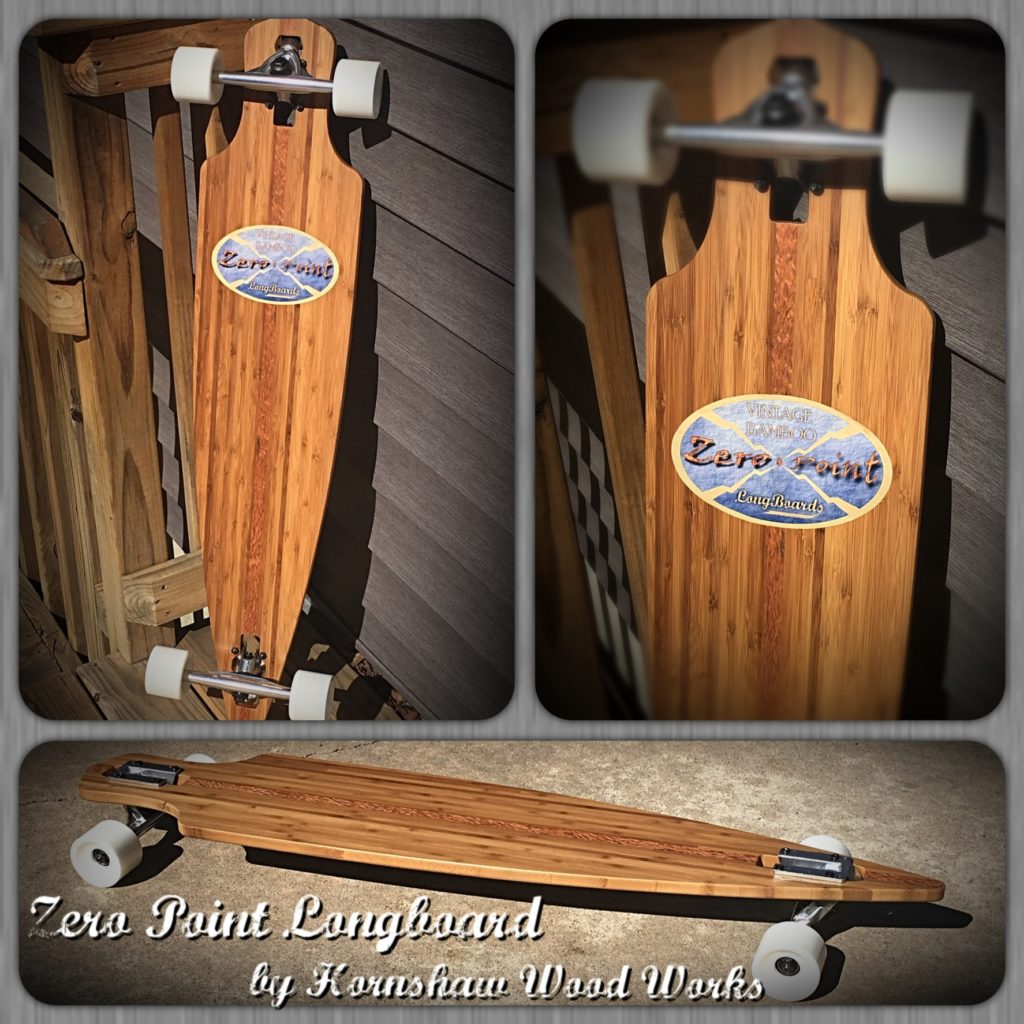 A little side job. I wanted to evaluate some bamboo material I found for a longboard. Turned out beautifully. I think I might make up a few longboards and list then on my Etsy store….

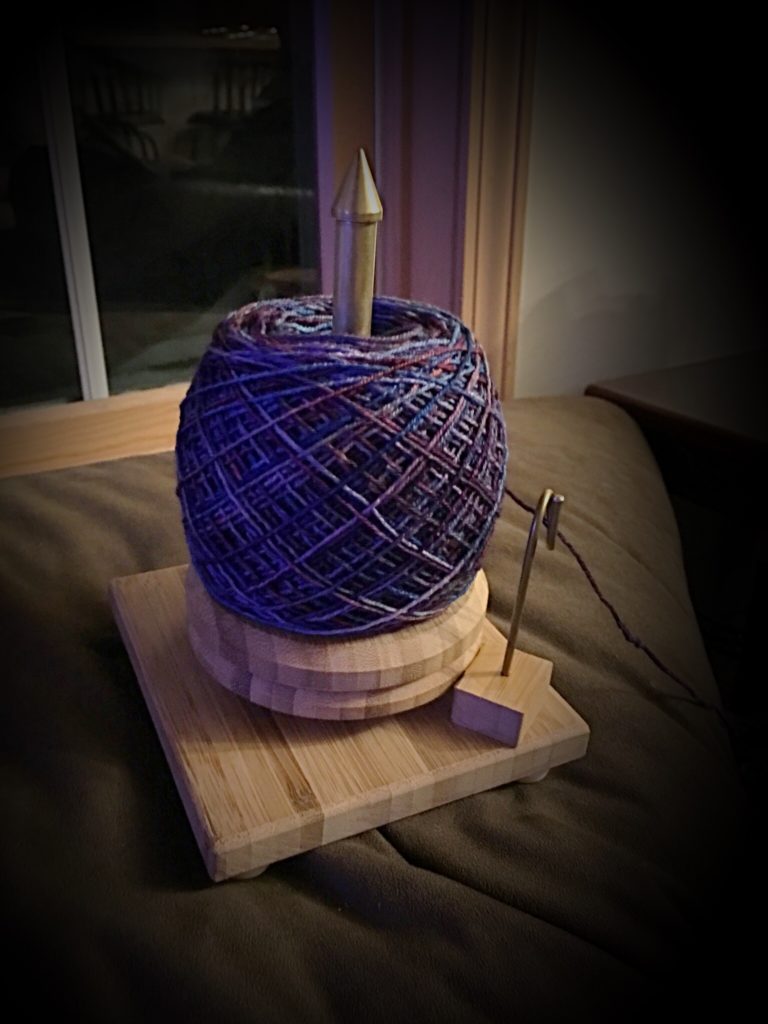
So ran into a bit of an issue when we first used the Butler. While pulling the yarn it would frequently slip over the top of the ball and wrap around the post, stopping the rotation of the Butler. You would then have to unwrap it by hand…very frustrating.
At first I thought it was because my center post was not spinning. But after looking at why the yarn stopped rotating (and accessing some of my previous engineering experience) I realized that the angles on the yarn being pulled off the ball were the cause of the yarn getting stuck.
So my solution is to stop the yarn from slipping over the top, or bottom, of the ball by adding a light tension pulling the yarn to the center of the ball circumference. I achieved this by adding a brass “pigtail” that the yarn is fed through. It is set at a height that should work for most all balls.
So far so good, initial retesting has gone very well!
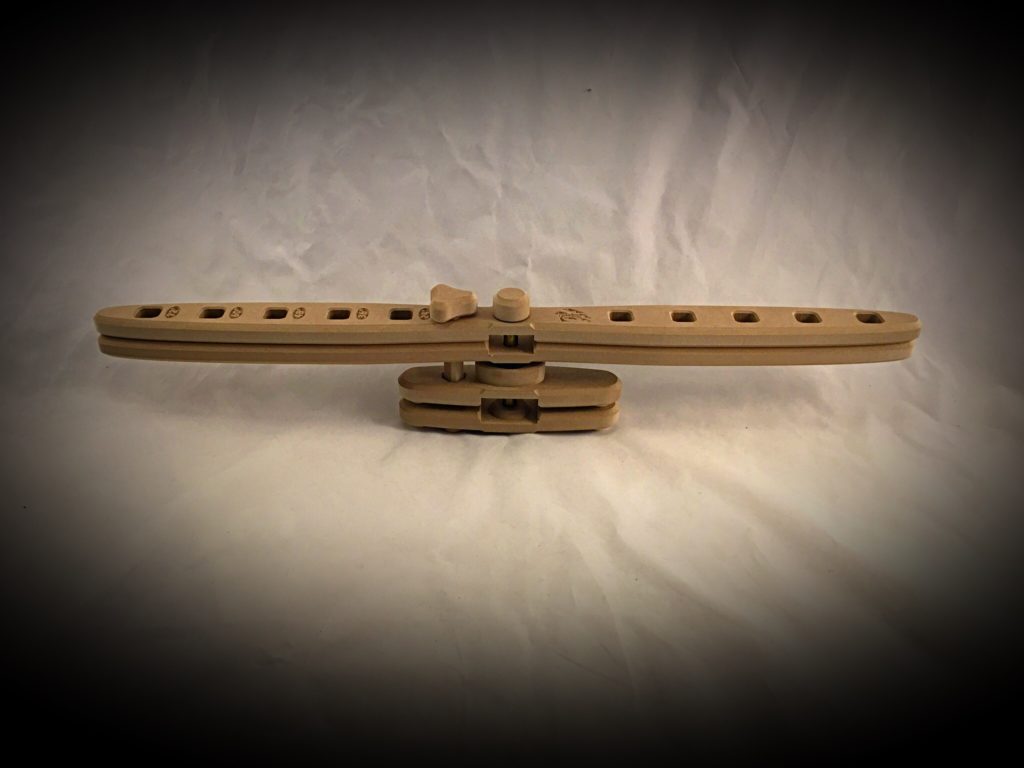
For prototype purposes I added a platform to set the Butler on. This allows me to test both Butler designs without having to re-cut the parts. Once all the testing is done I will integrate it into the base design.

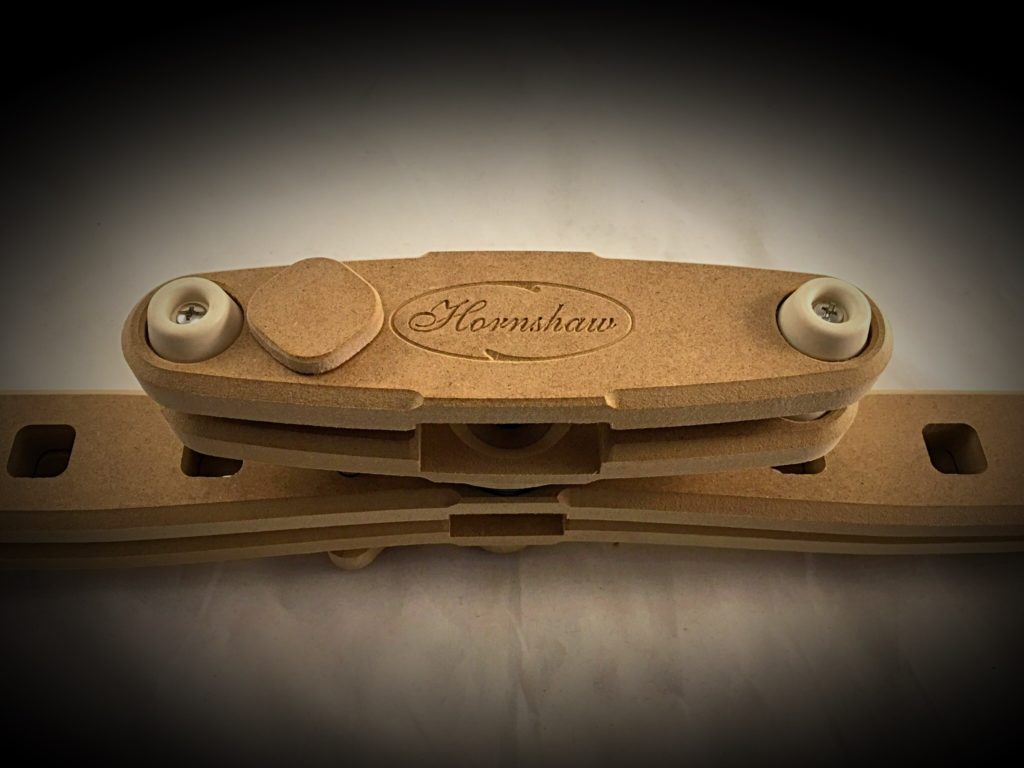
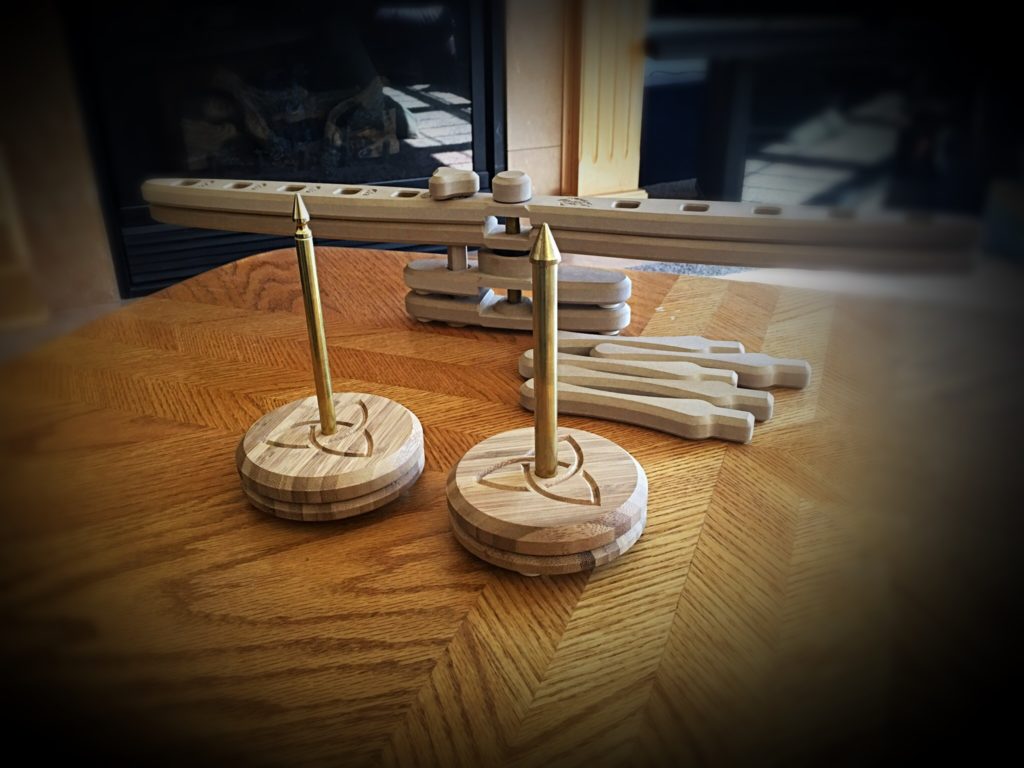 I have spent a couple of weeks prototyping and ordering sample parts for a Hornshaw Wood Works “Yarn Butler”. These are the two prototypes. I am leaning toward the one in front with the larger post for production. I still have to do some hardcore testing…which means my wife will be using it for a while to see how it works. But I am pretty excited!

 Need some feedback,
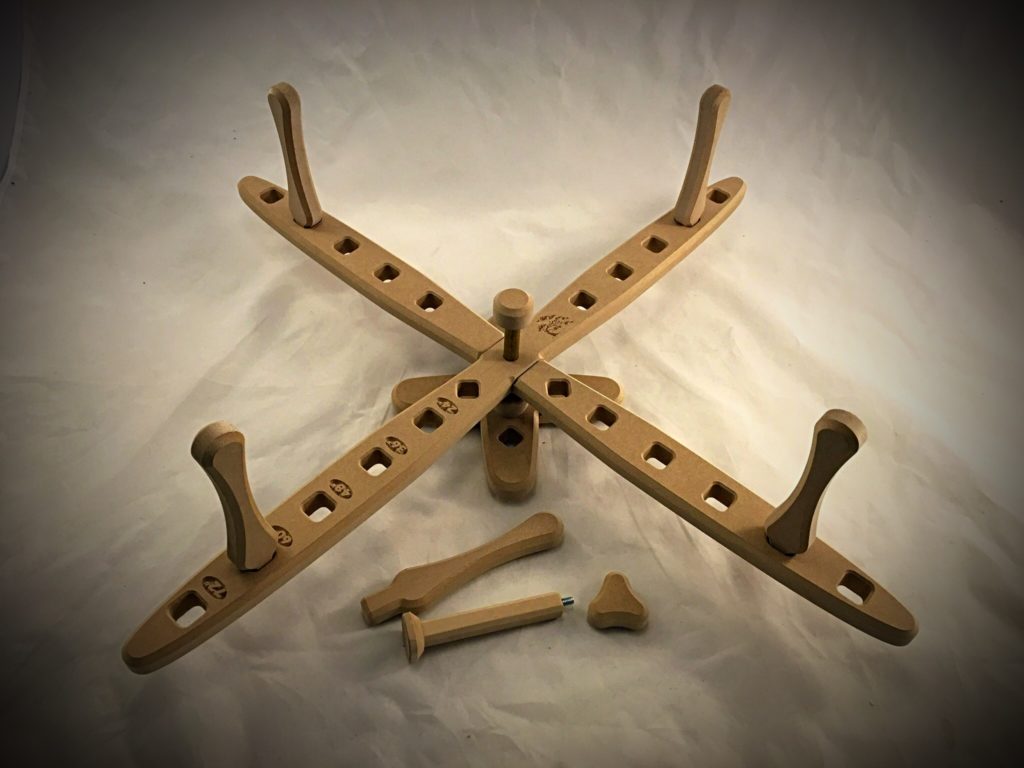
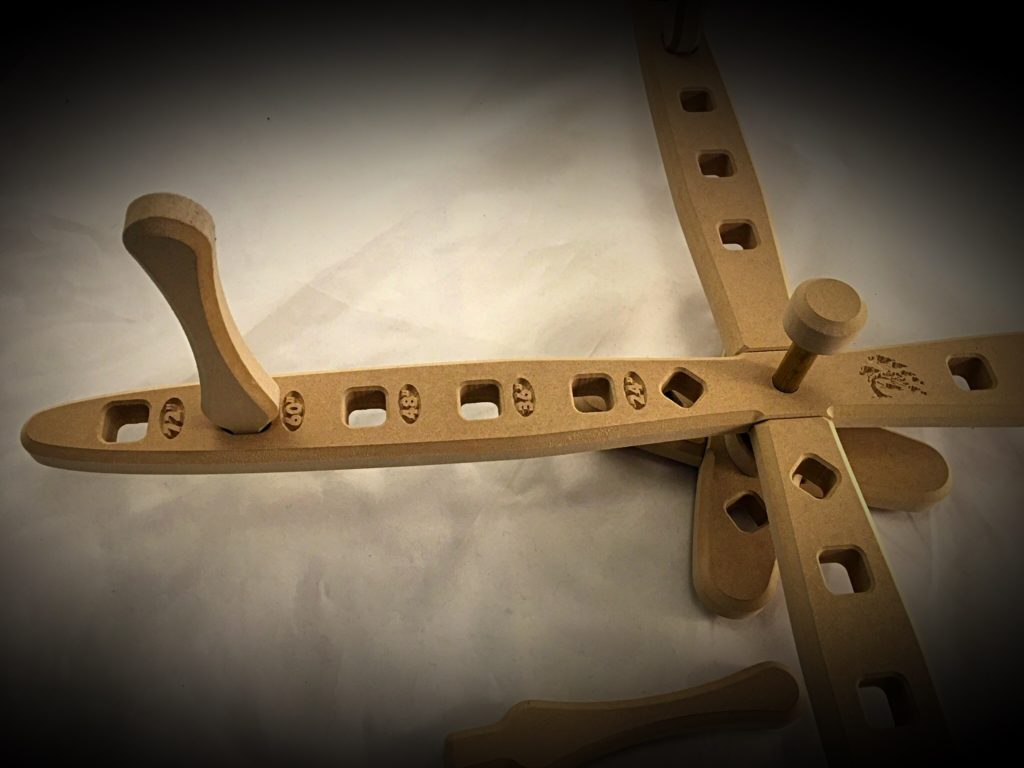
I thought everyone might like to see my prototype “DIY” swift. The intent is to cut this swift, do the initial rough sanding and sub-assembly. Then sell it for a discounted price. Say around, $85. (Final pricing TBD)
The customer would do the finish sanding and seal the swift with lacquer or polyurethane or the finish of their choice. And then do the final assembly … kind of like a kit. The swift would be non-returnable after finish.
These swifts would only be offered in Cherry or African Sapele. (And maybe Oak, still uncertain about this)
What do you think of the idea of finishing the swift yourself to get a discounted price?
Also do you have any thoughts of the shape of the arms? Like, dislike?
Please visit my Ravelry group to join in on the conversation;
http://www.ravelry.com/discuss/hornshaw-wood-works/topics/3590332
Thank you so much, in advance, for any feedback. 🙂


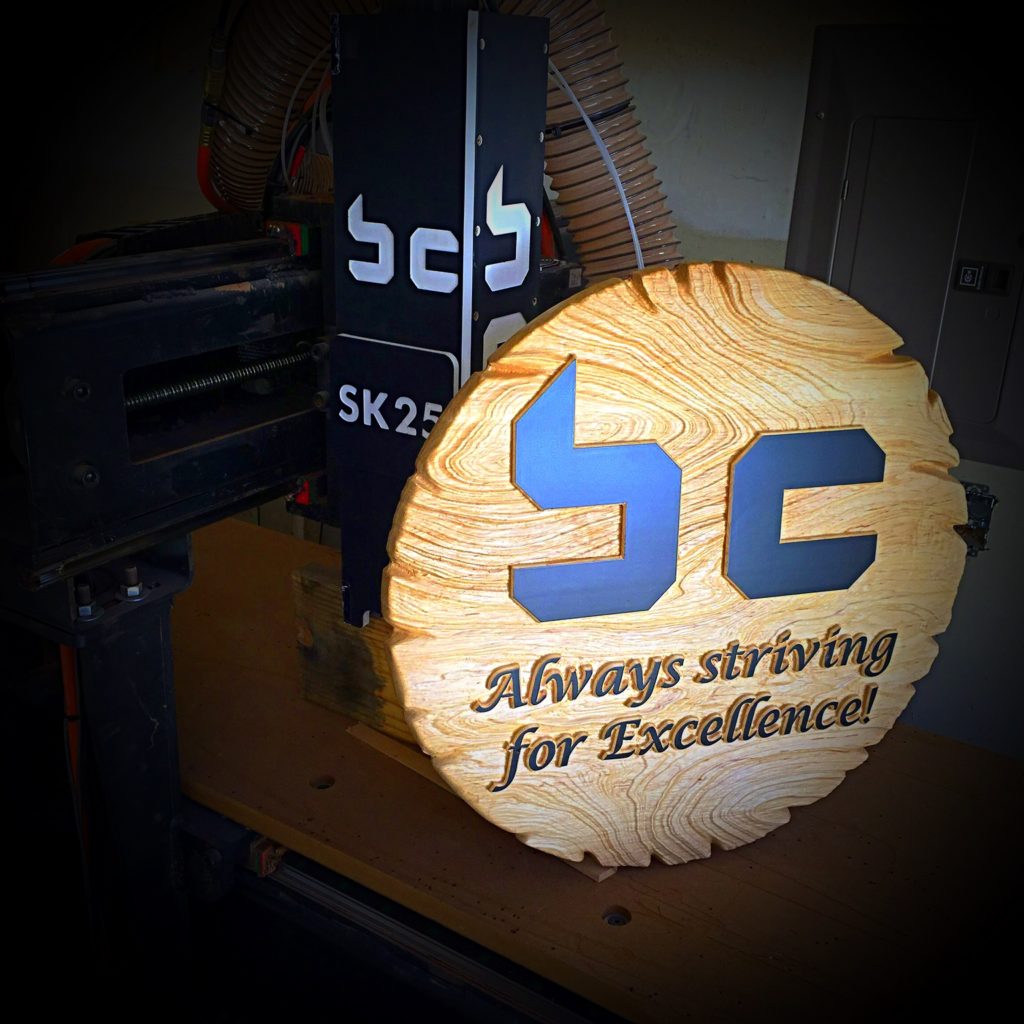
I just finished this 24″ diameter maple sign. I made it for the company that built one of my CNC machines. (Blurry Customs) It features a sand blasted grain texture that I modeled and cut in using my CNC machine. Beautiful and stunning, you just want to reach out and touch it!


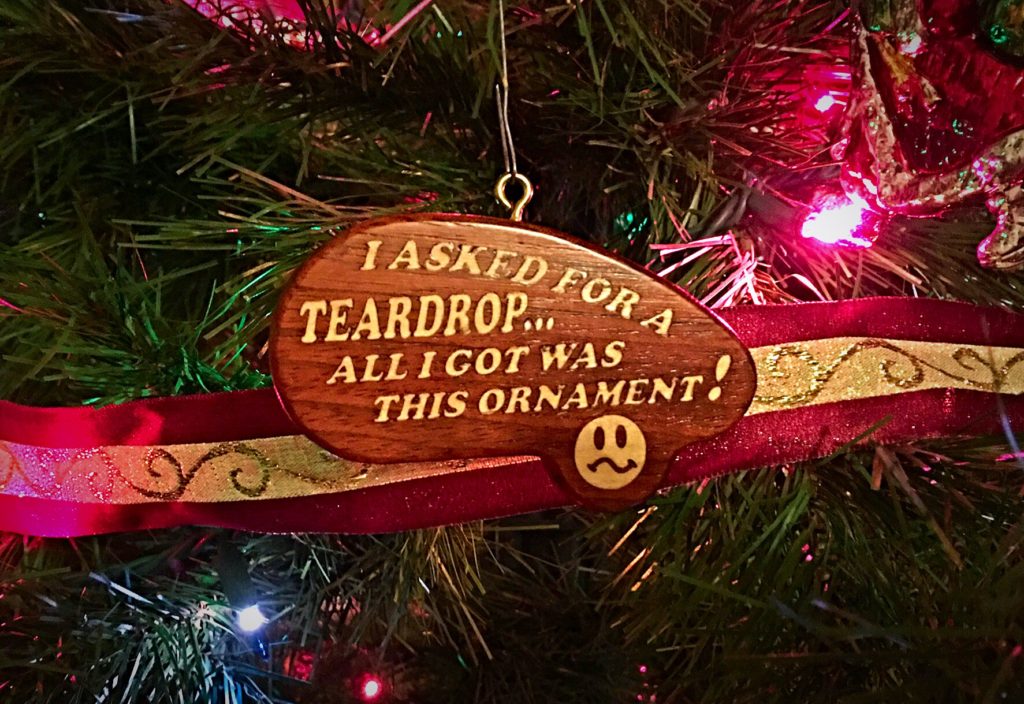
Setting up the tree always seem to involve some reminiscing about origins of ornaments. (My fav part of tree trimming)
This is an ornament I made about ten years ago inlaying Maple into Jatoba. One of my first projects when I started back into woodworking.
This gives me a lot of joy during the season.